Button Effects
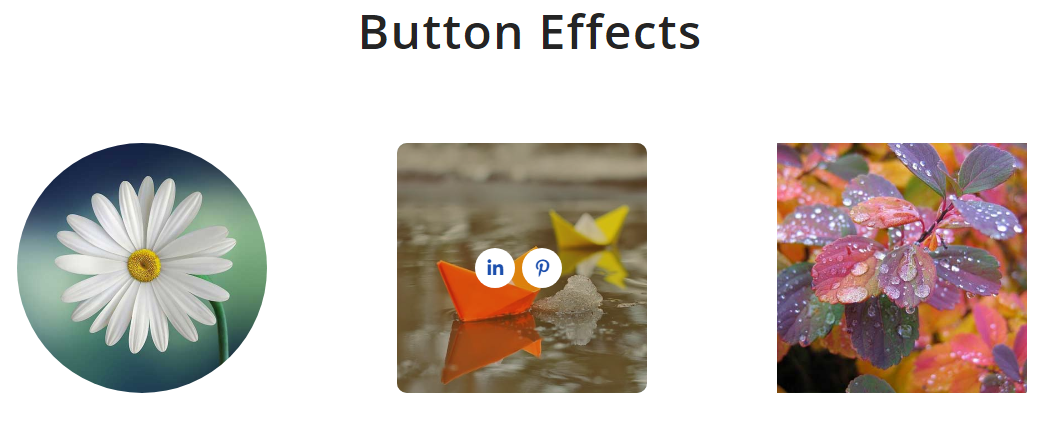
In the Image Hover Effects Ultimate, you’ll have different effects to use. Button Effects is one of the beautiful effects which is very effective when you want to add a call to action button on your image hover. Here, in this tutorial, you’ll know about this effect element and see how it works. Now, let’s dive into it:
⇒See Demo⇐
Creating a New Image Hover with Button Effects
First, navigate Image Hover> Image Hover> Elements> Button Effects from your dashboard.
Then, create a new Image Hover style with button effects by clicking on the Create Style button like below
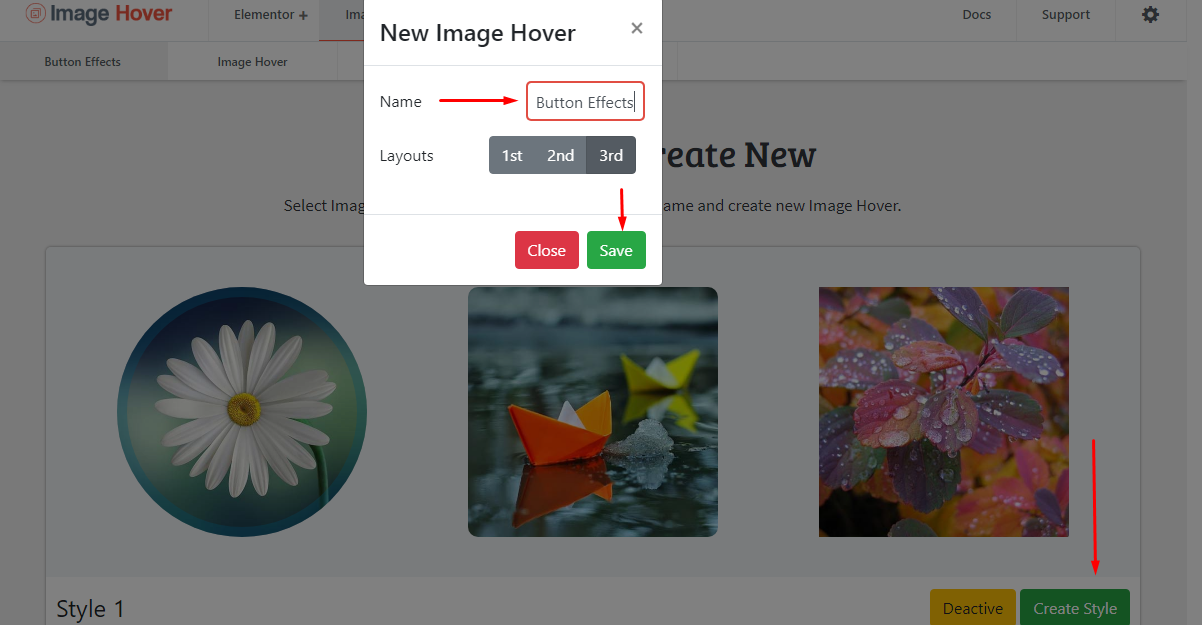
See the Using Image Hover section to know how to add and edit an image hover item.
Customizing & Adding Data
Now, after you create a new Image Hover using Button Effects it’s time to go further and add/style data to your style. Let’s start this section:
Add/Edit New Image Hover
To add a new image hover item, click on the Add New Image Hover (+) button. After clicking that button, you’ll find a Hover Modification Form to upload the image and add info.
After selecting a layout and creating an image hover effect item, you can see the live preview at the bottom side of the editor page.
Now, when you hover over the image you’ll find an Edit icon in the image. See the image below,
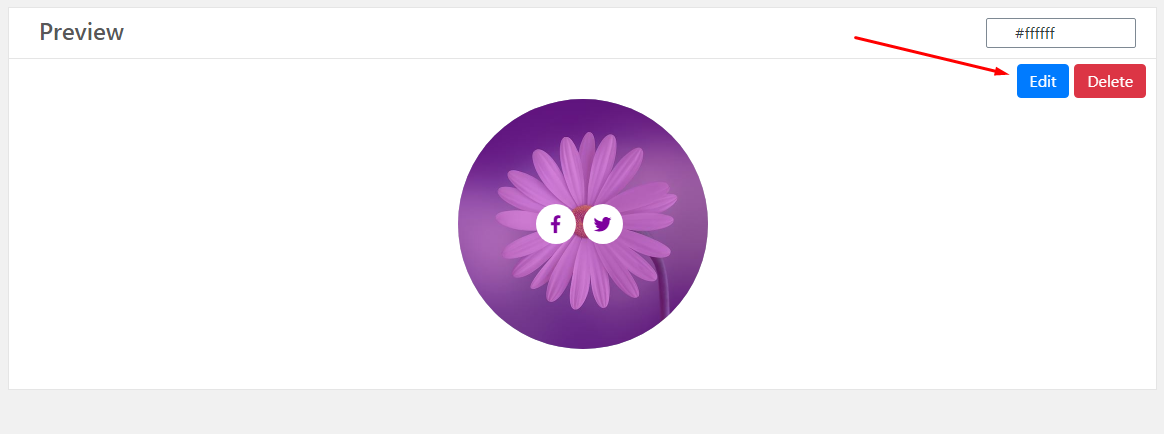
By selecting the Edit icon, you’ll find the image hover modification form. Here you can edit the image hover in button effects.
General Settings
ΞColumn & Effects- In the first section of the General Settings area, you can customize the columns and effects of the image hover. You can define the number of columns you want to display in a single row and set the effect time. And in the Animation setting group, set the animation type and customize its properties.
ΞGeneral Style- This section mostly covers the measurements of the image hover container. Customize the width, height, and margin for different dimensions here.
Typography
ΞContent Settings- In the Typography settings area, the first section is Content Settings. Here, you can customize the style of the image hover contents. In the button effects, content is the buttons.
ΞIcon Settings- Here, customize the icon of the social buttons. Set the size, width, height; add color and background; customize the margin, border, and box-shadow.
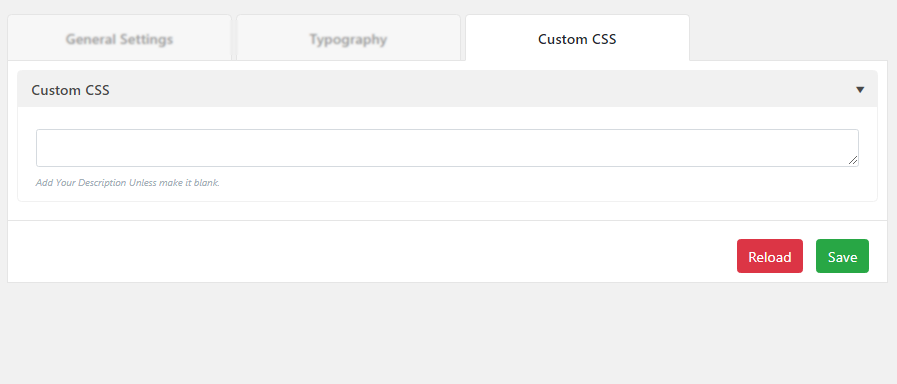
Custom CSS Option
Here you’ll find a box where you can add your custom CSS code. Advanced developers can use this option for their convenience. After entering the codes, developers can see the live preview. Once you finish coding hit the “Save” button to make your changes.
Now, just Copy the Shortcode and Paste anywhere in the post or page or plugins where you want to show the Button Effects.